Sunday, February 19, 2012

I promise I do things other than cooking...

I've been on a cooking kick lately. It's probably because its winter and I'm finding a million delicious recipes on Pinterest. We also have had a lot of guests and/or been going to friends' houses for dinners so I've been cooking away!

I do like to do things other than cooking and baking. Like sewing. I love to sew. In fact, I love to sew so much that I opened an Etsy shop to fulfill my love. My friends have been super supporters of mine and have asked me to custom make baby items, table runners, and pillows for them. I've loved that I'm able to create beautiful things for them to pass along to friends and family (or keep for themselves).

Here are a few of my more recent projects. And if you're interested in me making something for you, feel free to contact me. I'd love to help you pick out the perfect pattern for a baby gift, pillow, tablerunner, etc. Just let me know what you're thinking! Check out my shop, The Turquoise Pear.

I've made quite a few baby items lately. It seems like I'm at the phase in my life where my friends are popping out babies left and right (and they are some pretty cute babies if I do say so myself)!


My new sister-in-law asked me to sew table runners and pillows for her wedding reception in beautiful Charleston, SC. I was SO honored!


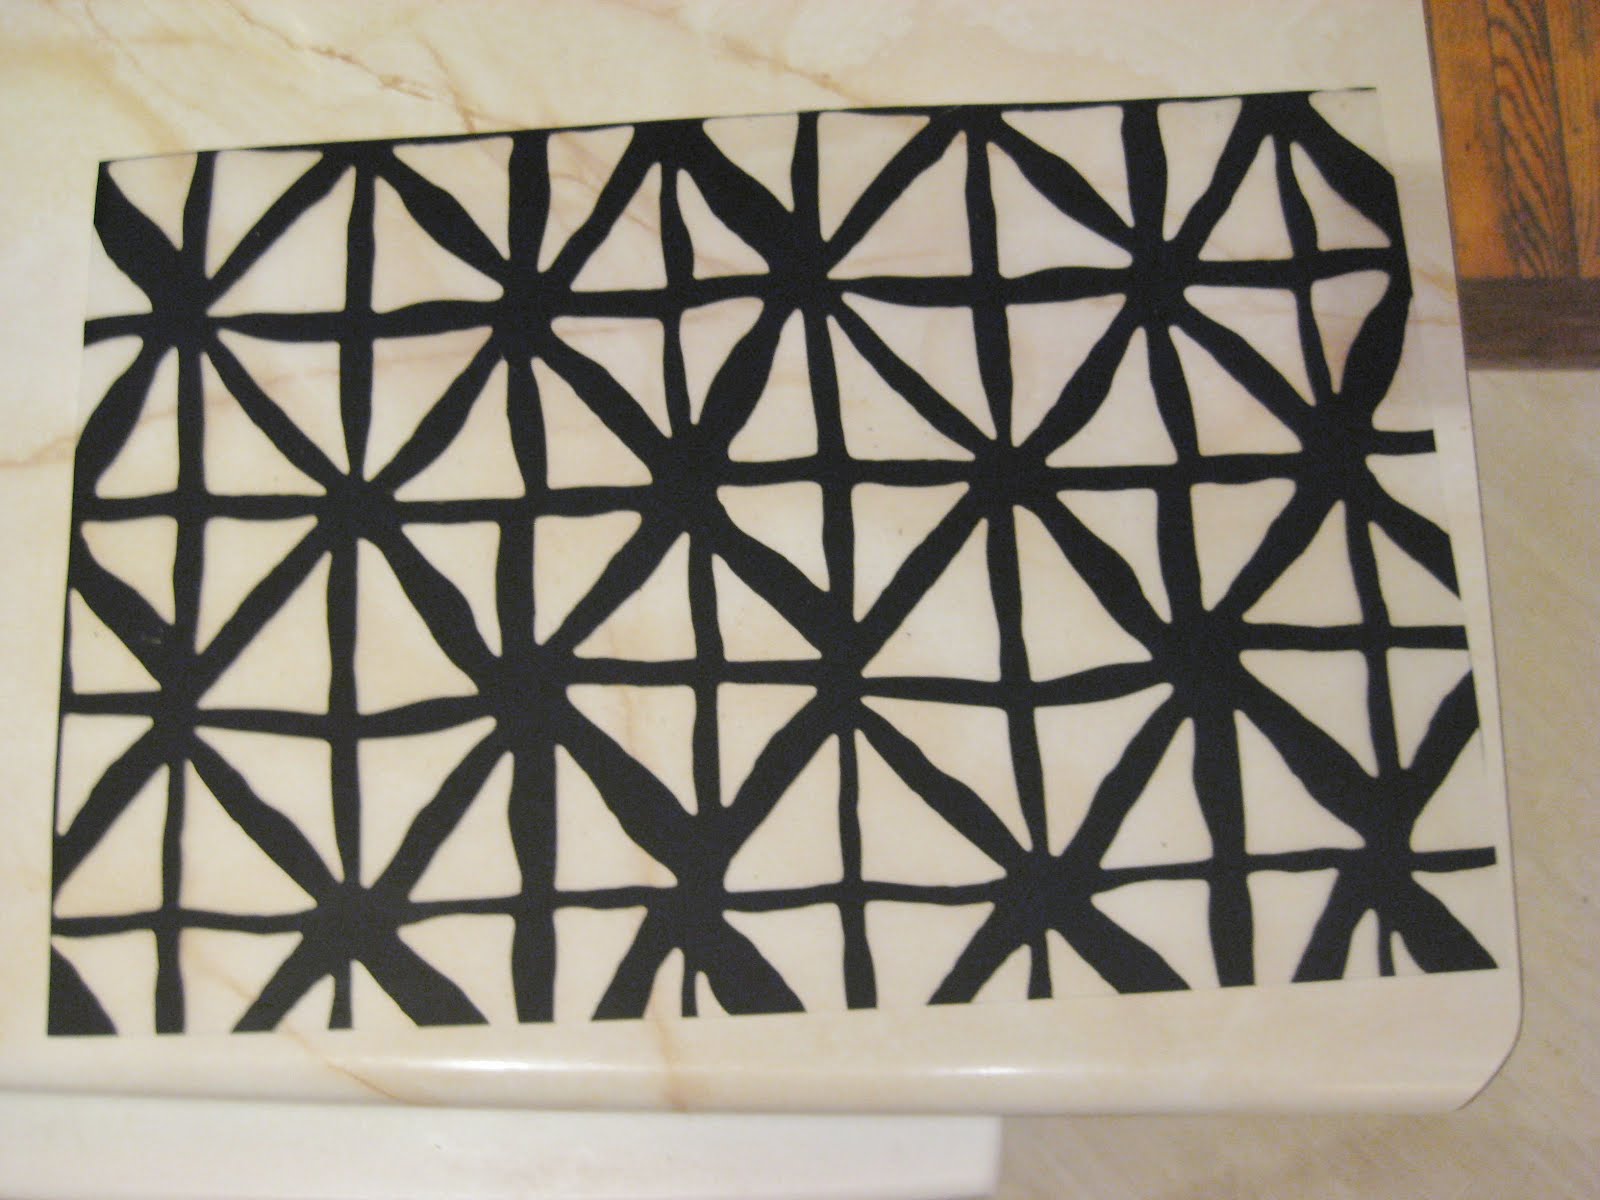
My cousin-in-law, Sarah, loved the print of this fabric so much that she asked me to make her a table runner for her dining room table. Check it out.


I do have some extra of this fabric so if you'd like a pillow(s) or tablerunner of your own, send me an email at theturquoisepear@gmail.com.

Sewing is such a passion of mine! I don't have nearly as much time for it as I'd like, but I love when I do get that time to just sit and create!

Saturday, February 18, 2012

A Good Ol' Chili Recipe

I know that there's all kinds of chili out there. I've never found one that I loved until this one. Sure, I have liked plenty others, but this one did it for me! I can't claim it as my own (it's from a good friend), but I had to share. We enjoyed this chili while watching the Super Bowl.


Good Ol' Chili
serves 4-5

Ingredients:
1 lb ground beef
1 onion chopped
1 bell pepper chopped (green or red)
1 jalapeno diced (remove the seeds and white inside part of the pepper if you don’t like spicy chili)
4-6 cloves minced garlic
1 package McCormicks chili seasoning
1 TBS chili powder
1 beer (I used Goose Island 312, but I’m sure any kind will do)
1 28oz can of diced tomatoes
1 14oz can each of black beans, kidney beans and chili beans drained

The How To:
Brown the meat in a large pot or dutch oven (5q). Drain and set aside.

Chop the onion and pepper. Add 2-3 TBS olive oil into the same pot that you cooked the meat and put back on med high heat. Add the onions and bell peppers. Cook for five minutes stirring occasionally. Stir in the garlic, jalapeno and cook for a minute more.


Add the cooked meat, all the seasoning, beer and tomatoes to the pot. Stir well and bring everything up to a simmer. Turn the heat to low and cook the chili for 1 hour stirring occasionally to make sure it isn’t sticking.

Finally, add the beans and mix well. Add cheese, sour cream, or whatever else you like on top!

Pin It


Enjoy! And if you have a chili recipe that you think I must try, please share it with me!

You can print off this recipe here.

Click here to see where I share my crafts and recipes each week.

Wednesday, February 15, 2012

DIY Sweater Pillows

When I started thinking about how I wanted to decorate my home for the winter months, I knew that I wanted something that was able to span past Christmas. I had been seeing sweater pillows all around Pinterest and decided to give them a try myself in making them. This was a super easy, quick, and cheap project that requires minimal sewing.

I headed to the Salvation Army and selected a couple of cable knit off-white sweaters for a total of $6. I brought them home, washed them, and let them air dry. The transformation then began. I only had to cut and sew the top and bottom of the sweaters to make it fit my 20x20 pillows. The sweater material was also pretty forgiving by hiding any small mistakes. For one of the pillows I added a zipper but the other pillow was able to be put on by unbuttoning the buttons that were already on the sweater.

Pin It

What do you think? You can totally do this on your own if you know how to sew a straight stitch. If you're interested in buying one from me instead of trying to make one of your own, let me know and I'd love to whip one up for you! Email me at theturquoisepear@gmail.com.


Click here to see where I share my crafts and recipes each week.

Monday, February 13, 2012

Not your average ham, egg, and cheese casserole

Oh boy! This is an amazing dish. I took this over to my cousin's place this past weekend for brunch and it got great reviews! Usually when I'm going to a brunch I take my tried and true french toast casserole, but I decided to try something a little different this time. Let me know what you think if you try this out!

Ingredients:
4 slices Pepperidge Farm Farmhouse Hearty White (this is sliced thicker than most loaves)
1/2 lb sliced ham
2 TBSP chives
2 tomatoes sliced
2 packages shreded monterey jack cheese (I only used 1 pckg but I guarantee you that two would make it even more cheesier and tasty)
6 large eggs
2/3 cups milk
salt and pepper to taste


The How-To:
Trim the crusts from the bread and cut into fours. Butter a 13x9" casserole dish. Scatter the bread on the bottom of the pan.


Add a layer of ham. Sprinkle about half of the cheese over the ham. Sprinkle 1 TBSP of the chives on top of this. Whisk together the eggs and milk in a small bowl. Season with salt and pepper. Pour the eggs evenly into the dish. Top with tomato slices.


Bake in the oven for 30 minutes at 350 degrees. Remove from oven, sprinkle on remaining cheese and 1 TBSP chives and bake for an additional 10 minutes or until cheese is puffy and golden.


Pin It


Print off this tasty recipe here.


Click here to see where I link up my recipes and crafts each week.

Sunday, February 12, 2012

Coffee Table Makeover

One of the things that I love about living in a city is that you can find some pretty nice things in the alleys sometimes. One man's trash is another man's treasure. The winter months are a bit slow with people cleaning out their places, but when spring and summer roll around there's lots to choose from!

My husband used to get slightly annoyed when I'd tell him that I found something in the alley and I needed his help carrying it, but when he saw what I could do with the piece I found, whether is be for our place or to resell for some moolah, he became a supporter.

Over the summer when he's at work (I'm a teacher so I have the summer months off), I've often had to manuever a large piece of furniture into my little sedan. Like this coffee table...I may or may not have not been able to shut the car door all of the way and therefore, I may or may not have driven extremely slowly a few blocks with the door slightly ajar.

For a while, we were thinking about keeping the table and refinishing it to fit into our place, but the lines just didn't fit my style and after months of trying to figure out if I wanted to keep it or not I decided just to sell it.

I originally tried to sell it "as-is" with some dings and scratches. I got hardly any bites. So, I decided to spray paint it white and distress it to see if that would help in selling it. It's amazing what a little spray paint will do for a piece of furniture! I bought a can of spray paint primer and 2 cans of heirloom white spray paint all for about $10.

First, I slightly sanded down the table to help the paint stick better. i used a damp rag to wipe off the dust and let it dry. Before I put any primer or paint on, I took a tea candle and rubbed it around the edges of the table and legs. I learned this little trick from reading around in the blog world. Do this if you want to have a distressed look to your table. After I primed and painted the table (it took me about 2 coats of primer and 3 coats of spray paint) and let it dry, I took a rag and wiped off the wax. The old pieces of dark wood popped through the white paint giving it that distressed look that I wanted. I didn't bother spraying a sealer type paint to finish off the project because since the table had more a distressed look, a few more dings and nicks would only add character to the piece.

Here's the before and after:


I relisted the new table on Craigslist and ended up having several people contact me. I sold it for $45 - $10 for supplies, so I made $35! Do you see why I love driving slowly past alleys???

I don't claim to be an expert at redoing furniture, but for where my husband and I are in life the way I've been doing it works just great for us. There's a ton of different ways to paint and finish furniture and I'd love to learn those ways, but I have to start somewhere and this is where I'm starting!

Saturday, February 11, 2012

Chicken Tortilla Soup

This soup recipe is a result of having lots of leftover shredded chicken from the delicious crockpot chicken recipe I shared the other day. The original recipe is from Taste Kitchen. All right, enough talk, let's get on to the yummy goodness!

Chicken Tortilla Soup

1 cup shredded chicken
1 32 oz box of chicken broth
1 can mild Ro-tel (tomatoes with chiles)
1 can corn
1 tablespoon lime juice
cilantro for garnishing (optional)
shredded cheese for topping (optional)

Mix everything in a medium sized pot and let simmer for 30-45 minutes. Garnish with chopped cilantro and/or shredded cheese if desired. Yep! It's that easy!

Pin It


Click here to see where I link up my recipes and crafts each week.

Wednesday, February 8, 2012

Placemat Serving Tray

I love getting all crafy, but sometimes I just want a super quick and easy fix to my "problem." In this case, I had found this beautiful brown wood serving tray at Salvation Army for $3.99. I just saw the exact same one at Target today for $19.99. Not sure what happened there other than the fact that I got a great deal!

Anyways, the serving tray was in great condition, but just needed a little spicing up. So, I purchased this single vinyl placemat at Target (think it was about $4) that matched my decor.


I measured the length and width of the inside of the serving tray with a tape measure. With a ruler, I drew straight lines that measured the same length and width as the inside of the tray. I used scissors to cut along the lines and simply placed it into the tray.

Viola! An instant and cheap face lift! The nice thing about this is that it can be easily switched with another pattern if I choose to use it in another location in the future. Love it!

Pin It


Linking up to: A Bowl Full of Lemons, Someday Crafts, Homemaker on a Dime, Somewhat Simple