Tuesday, March 27, 2012

Busy, Busy

Things have been a little busy around here lately. That, and the weather was amazing here the past couple of weeks so I tried to be outside as much as possible. I am thankful though that it has cooled off significantly because being in a non-air conditioned classroom with 26 little busy bodies makes for long, hot days.

Anyways, stop back by here later this week and I'll show you how to make this lovely lady:


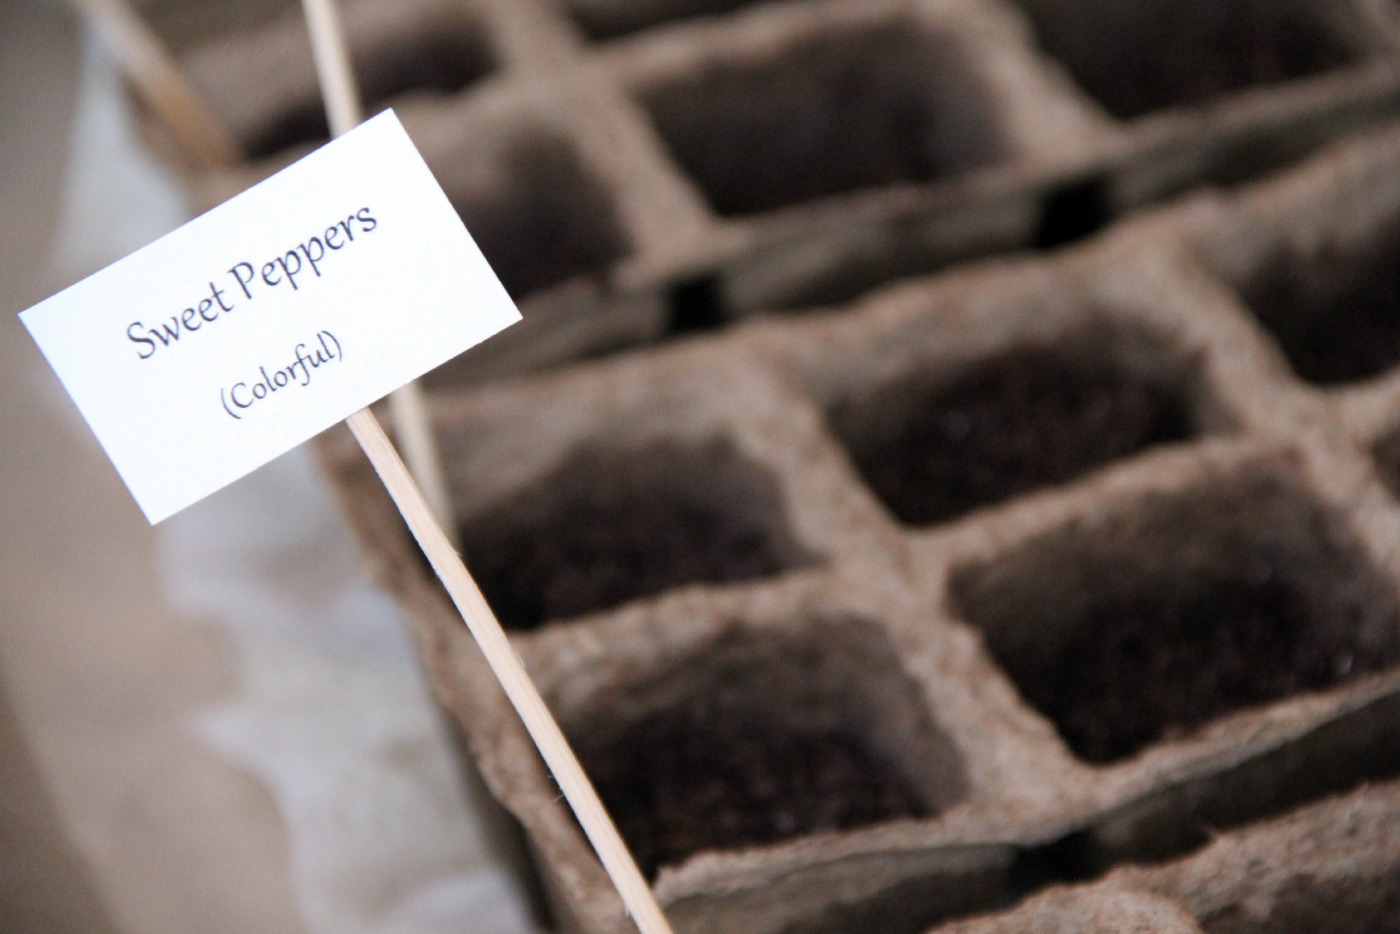
And I'll give you an update on our tomato and pepper plants (and I need some gardening advice).

'


Until then, have a great week!

Wednesday, March 21, 2012

Guest Posting at Live.Love.Craft

Hi everyone! I'm guest posting today over at Live.Love.Craft. Alyssa contacted me and asked if I'd be interested in doing so. Of course I said yes! She has a really fun blog so hop on over, take a look at my yarn wreath tutorial, and check out some of the great things that she has to offer around her blog. Leave her a comment if you see something you like or just to say hi! And for those of you visiting me from Alyssa's blog, I'd love it if you did the same. A little "hello" can make anyone's day brighter!

Sunday, March 11, 2012

Mississippi Mud Pie

I love dessert. Especially, creamy, fudgy, chocolatey desserts. I'm not a cake person though (I know, I'm weird). This Mississippi Mud Pie pretty much entails everything I love about desserts. This recipe is delicious, SUPER EASY, and makes 2 pies! Ideally, it'd be great for the summer, but why wait???


Here's how you make it.

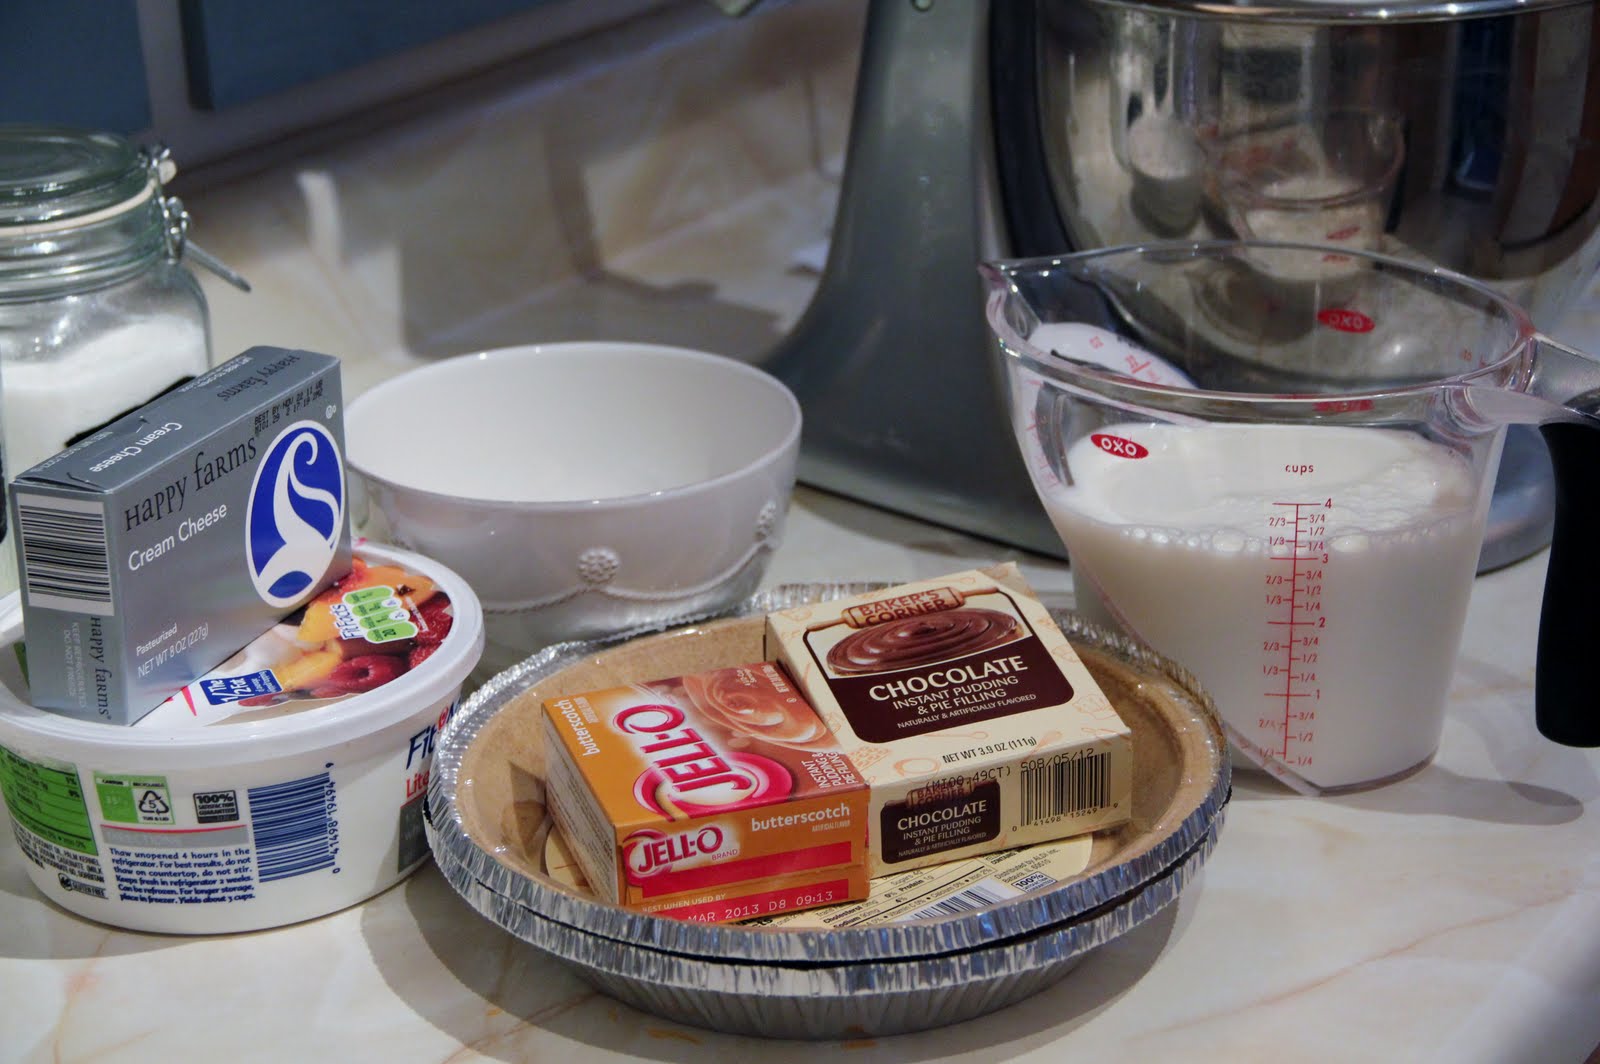
Ingredients:

1 tub whipped cream
3/4 cup sugar
8oz cream cheese, softened
one-3.9 oz chocolate pudding
one-3.4 oz butterscotch pudding
3 cups milk
two-graham cracker crusts (you can make your own or buy the pre-made ones at the store)

Directions:

Beat together half of the whipped cream container, 3/4 cup sugar, and the cream cheese. Beat until everything has mixed together then layer it on top of the graham cracker crusts.

Next, mix both of the pudding mixes with 3 cups milk for approximately 3 minutes(I used the same bowl as above once I had scraped out all of that good stuff and spread it onto the crust). Let sit for 2-3 minutes then smooth over the first whipped cream/cream cheese layer.

Finally, use the remaining whipped cream from the tub to smooth over the pudding layer. (I have found that the best way for me to smooth all of these layers is just a plain old spoon.)

Chill for at least 3 hours before serving.

Click here to see where I like to share my crafts and recipes each week.

Wednesday, March 7, 2012

Don't Forget...Birthday SALE at The Turquoise Pear

Hi blog friends! Today is my birthday and just incase you missed the announcement or if this is your first time visiting my blog, I'm having a birthday sale in my Etsy shop, The Turquoise Pear. Just use coupon code BIRTHDAY10 to receive 10% off your purchase now through March 11.

Also, if this is your first time here, I'd love it if you followed me!

I hope that you'll visit The Turquoise Pear and pass along this promo to your other blogger friends! Thanks!


Pin It


Sunday, March 4, 2012

Molasses Cookie Sandwiches

Over the past few weeks, I've found myself watching the Food Network more and more. And as I'm watching, I'm wondering why I don't watch this channel more often. Everything that anyone makes looks AMAZING! I want to make whatever they're making right away. Which is what happened yesterday morning as I was watching "Down Home with the Neelys."

They were making a full meal, but the thing that caught my eye (and stomach) were the molasses cookie sandwiches with nutella spread in between that they made for dessert. Nutella. I love nutella.

I couldn't stop thinking about these cookies and decided I had to make them this weekend. So off to the store I went to get the couple ingredients that I was out of and then I got right to it. I've never made molasses cookies before, but these were super easy. Okay, enough rambling. Let's get to the good stuff!

Molasses Cookie Sandiwches
original recipe from The Neelys

Ingredients:
1 cup dark brown sugar
1 stick (1/2 cup) unsalted butter, melted and cooled
3 tablespoons molasses
1 teaspoons pure vanilla extract
1 large egg
1 1/2 cups all-purpose flour
1 teaspoon baking soda
1 teaspoon ground ginger
1/2 teaspoon ground cinnamon
1/2 teaspoon ground cloves
1/4 teaspoon table salt
1/4 cup granulated sugar
Chocolate hazelnut spread, such as Nutella


Directions:
Preheat the oven to 350 degrees F. Adjust the oven rack to middle. Line 2 sheet trays with parchment.

Whisk the brown sugar in a large bowl to get rid of the lumps. Add the butter and stir until smooth. Stir in the molasses, vanilla and egg, mixing until well combined.

Whisk together the flour, baking soda, ginger , cinnamon, cloves and salt in a separate medium bowl. Add the dry mixture to the butter mixture and stir until well incorporated and smooth, about 2 minutes.


Pour the granulated sugar onto a plate. Divide the dough into 12 equal-size balls and roll them in the sugar. Arrange the dough on the prepared sheet trays at least 2 inches apart. Press gently to flatten. Bake about 16 minutes depending on your oven (mine took about 13-14 minutes and are a little chewier which I like). Let cool completely on the sheet trays.


Spread the chocolate hazelnut spread between 2 cookies and sandwich them together. Repeat with the remaining cookies.


Print off this recipe here.

Click here to see where I like to share my crafts and recipes each week.

The Turquoise Pear BIRTHDAY SALE

Hi everyone! It's my 28th birthday on Wednesday (March 7) this week and to celebrate, I'm having a SALE in my Etsy shop. Instead of showering me with lots of gifts like I know you were planning on doing, I'd love it if you headed on over to The Turquoise Pear and used the coupon code BIRTHDAY10 to receive 10% off your purchase. Woohoo!

This coupon code is good for things in my shop that are "ready to ship" and for custom orders. Custom order payments must be received by March 11 in order to receive the 10% discount. Once we figure out the custom gift you want, I will send you an invoice in which you can then pay.

If you'd like to place a custom order, please send me a message through Etsy or an email at theturquoisepear@gmail.com giving me some info on the sex of the baby, colors and patterns you like and the item(s) that you'd like me to make. We can come up with the perfect gift for you! Here's one of the place that I love to get fabric in Chicago. Take a look and see what inspires you!

Here's the pricing of most custom items:

blankets (28"x28") $30 + $6 shipping
set of 3 burp cloths $15 + $3.50 shipping
nursing covers $25 + $4.00 shipping
pillows and tablerunners (pricing depends on the price and size you choose)

*If you buy more than one item from me, I will adjust the shipping cost accordingly.


Here are a few of the items currently for sale in my shop:


And here are some custom orders that I have done in the past:


Again, visit THE TURQUOISE PEAR, use coupon code BIRTHDAY10, and receive 10% off your purchase through March 11. And please, spread the word to your family, friends (blog friends, Facebook friends, work friends...whoever!) You are more than welcome to share this post with anyone!

Hope you join in on the fun!

Amy

Friday, March 2, 2012

Chalkboard Paint Kitchen Canisters

Chalkboard paint is an amazing invention. I really need to explore into this world more. So far, I've only done one project that involves chalkboard paint and I was super happy with how well it went.

I have been meaning to complete this project for a quite some time but Joann's never had black chalkboard paint. I finally had success on Saturday. I can't quite remember where I saw this project but I think it was through the blog world or maybe even World Market where I eventually ended up purchasing the canisters. This was a super easy and reasonably priced project. Anyone can do this!


Here's what you need:
the item(s) you want to paint
a paint brush
chalkboard paint
chalk

I just followed the directions on the back on the chalkboard paint and I didn't care about super straight lines. It took me 2 coats to complete the project. The first coat still left streaks that you could see through.

Here's the before:

And the after:


Pin It

What do you think? This was so easy peasy! You can totally do this yourself with pretty much anything your heart desires. I'm thinking about using it for herb planters this spring! Anyone have any other ideas for what to paint?

Click here to see where I like to share my crafts and recipes each week.