Showing posts with label diy. Show all posts

Saturday, August 25, 2012

DIY pallet & wedding gift

I am SO happy with how this project turned out! Here's how it all came about...

A couple of weeks ago I was brainstorming ideas for a wedding gift to give to my friend, Kirby, who was about to get married. I'm not sure how this idea came about in my head, but it started taking form and I had something specific in my mind.

First, I enlisted the help of my father-in-law who has a workshop in the basement of their house (thanks, Joe!). Since Matt and I were heading back to Michigan the following weekend for another wedding, I asked him if he'd be willing to purchase and cut the wood to the size I needed. He loves working in his workshop and I don't blame him! I'd be down there using those tools all the time, too!

By the time we had arrived in Michigan, my FIL had cut the wood so that I could make a 12x12 square pallet. Next, I arranged the pieces of wood in the order that I wanted for each pallet (I made two) taking into account the grain and characteristics of the wood.


Each piece of wood was 12 inches wide and just under 2.5 inches tall. I used 5 pallets to make an almost 12 x 12 inch square.

Using one of the extra pallets that was cut, we lined it up in the center on the backside. I used about 10 nails to hold it all together.


Next, I used part of an old white t-shirt to rub on the stain. I didn't want anything too dark since I was going to be using navy blue paint later. I also wanted it to resemble an actual pallet so I chose fruitwood. I made sure to wear gloves for this portion, especially since I was heading to a wedding shortly. The stain was dry after about 2-3 hours, but it was another 2 days until I did anything else to these pallets.


We headed back to Chicago where I finished up the project. I enlarged and printed off the two graphics that I wanted to use - a beard and hair. This was sort of a theme of the wedding. Joshua has a nice, bushy beard and Kirby has beautiful, wild, curly hair. See?


These were the graphics that were on their wedding invite, wedding website, and throughout the wedding reception.
 

I then traced and cut (I used scissors, but an exacto knife would probably be best) out the graphics onto contact paper which is sticky on one side. I placed that sticky side onto the wood, covered the parts I didn't want to be painted with newspaper, and sprayed away. It took me about 3-4 coats to get the coverage I wanted.

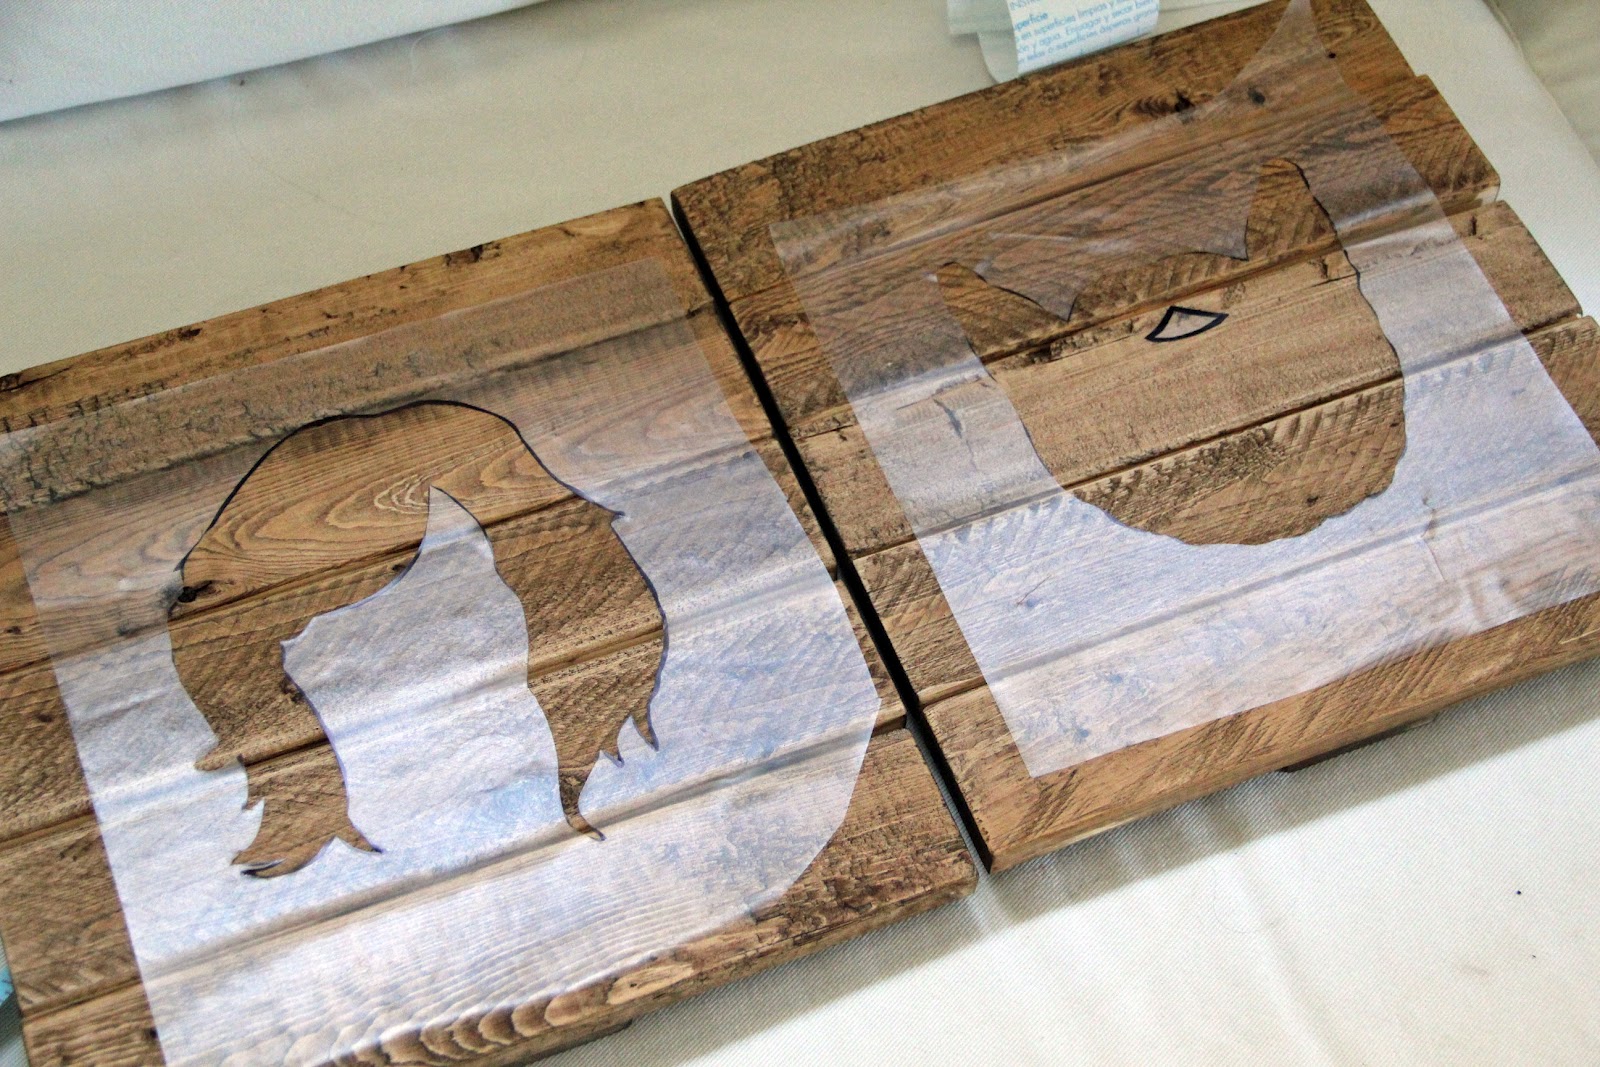


It was reeeeally hard to wait patiently for this to dry. I couldn't wait to see what it looked like. Finally, I was able to remove the newspaper and contact paper.


I loved it! But I wasn't finished yet. I nailed a hook to the back so that it can hang on a wall.


Finally, I wanted these two pieces to have a more distressed look so I grabbed some sandpaper and went to town. However, I was careful to only rub the paint area as I did not want to take off much of the stain.

Here is the end result. I LOVE how it turned out and I can't wait to give this to the newleyweds. Hopefully they don't see this before then!


Thursday, July 19, 2012

Ugly Rug Makeover

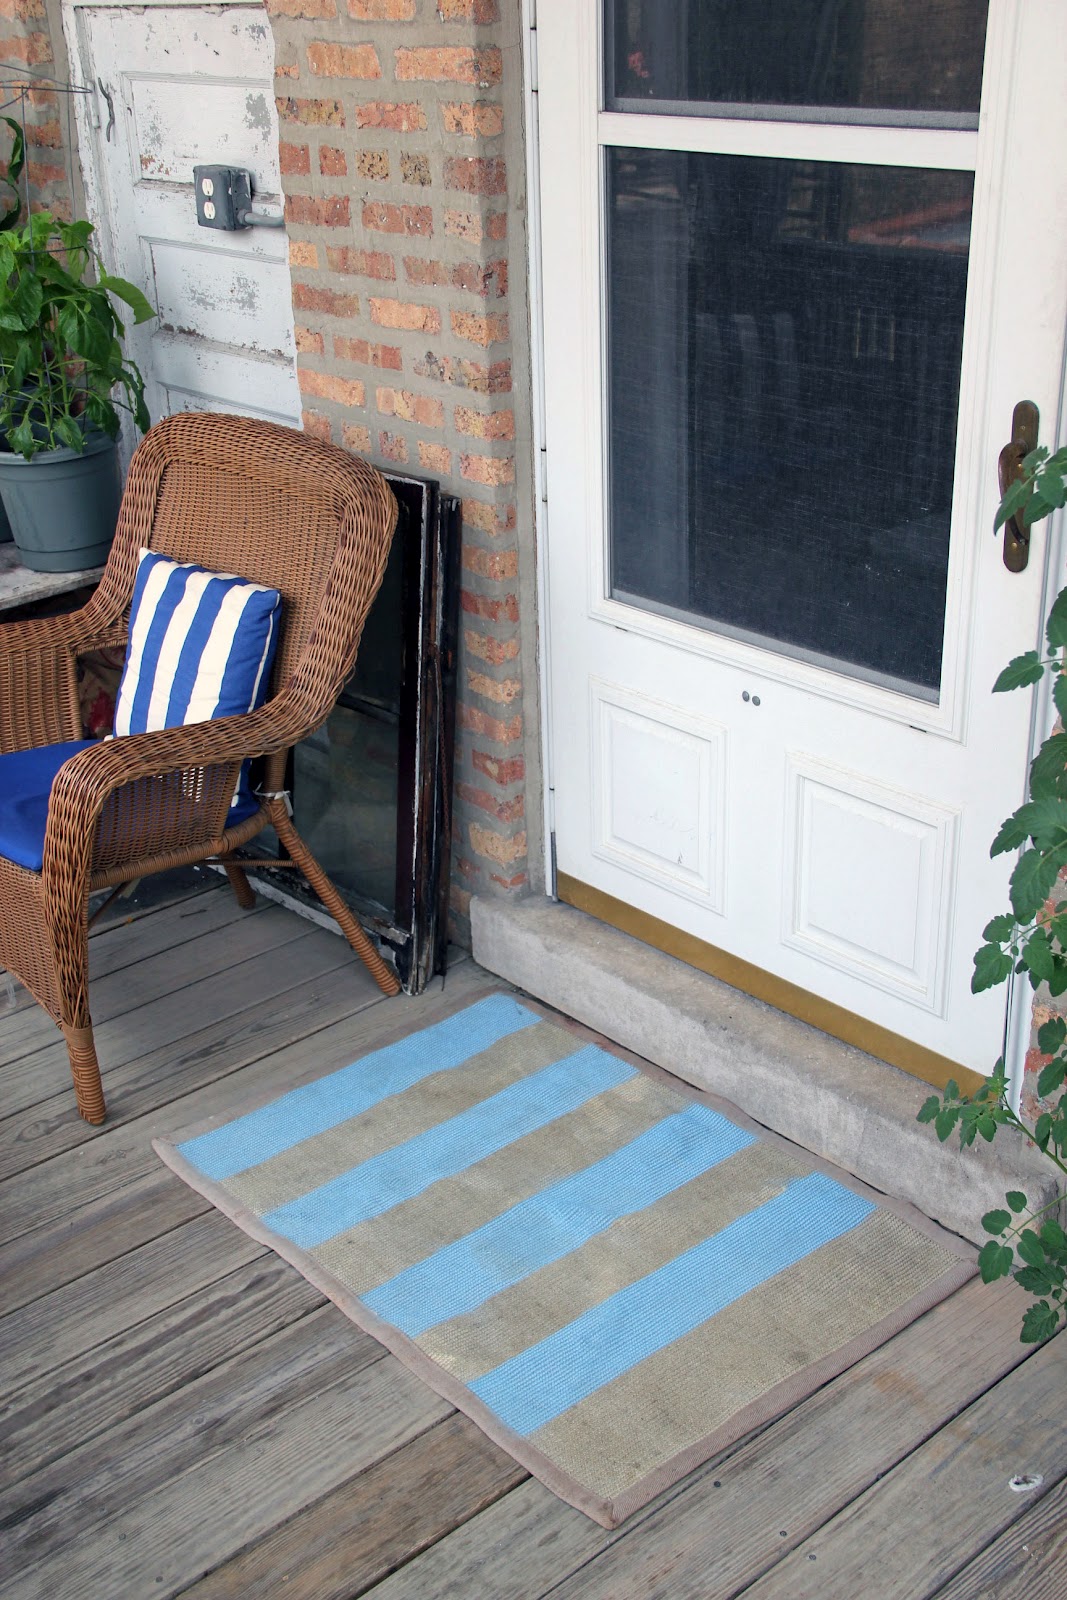
Since Matt and I spruced up our patio, I couldn't let this hideous doormat continue to look ugly while everything else was looking so nice. So, I chose a spray paint color I already had, used duct tape (you really can use this stuff for anything!) to make a striped pattern making sure that the paint would cover any stains or spots, and sprayed away.

Yikes.


This took several coats of spray paint. The rug appeared to just be absorbing all the paint, and there were even some spots that just wouldn't completely take in the paint. I was skeptical but when I pulled off the duct tape the end result was much better than I was anticipating.


This little rug still has its flaws, but its much better than before and it was a free makeover!

Thursday, July 12, 2012

Outdoor Curtains Using Drop Cloths

I am beyond thankful that we have outdoor space at our current apartment. We love being able to grill out in the summer, sip on wine and talk in the evenings, drink coffee and tea in the mornings, and read during the day. I'm actually sitting out on the deck right now as I write this post!

However, we are in the city and so there can be a lack of privacy at times. Sometimes you don't want the neighbor kids next door staring at you while you're trying to read or asking you 10 million times, "What are you doing? Why are you doing that? What are you doing now? Where are you going? Do you like my dress? Wait, what are you doing now?"

Don't get me wrong. I love kids. Clearly I do. I an elementary teacher, I help out with the 3 year old Sunday school class at my church, I used to coach summer league swim team and teach private swim lessons, I was a nanny for a year to 7 adorable kids, and I tutored children. But, when I'm sipping on my coffee in my pjs in the morning, this lady just wants some peace and quiet.

So, to make our back patio a little more private and to help with blocking out the hot sun in the evenings, we hung up some drop cloth curtains. We also used drop cloths as curtains in our family room and sunroom. You can check those out here and here. There were already hooks and wiring to hang the curtains on, so we didn't have to fuss with that (though I think it would have been fairly simple). All I did was sew some tabs onto the drop cloths to make them the right length then used shower curtain rings to hang the curtains on the wire. Using these rings makes it easier to slide the curtains back and forth.


In order to keep these curtains from blowing like crazy during those windy days in the Windy City (which actually isn't called that because of the wind, but because of the politicians of the city who were long-winded when trying and successfully getting the World's Fair of 1893 to be hosted in Chicago. I LOVE Chicago history. Maybe that'll be another post one day.) I used twine that I purchased at Home Depot for $3, tied it around a post, and then tied it around the curtains.


This space really does feel like an additional room of our apartment. We love it!


What do you think of our little backyard oasis?

Here's where I'm sharing my things this week.

Monday, July 9, 2012

Drop Cloth Curtains Revisited

My first post ever on this blog was about the drop cloth curtains that I used in my sunroom. I love the neutral, linen feel that they provide. Plus, at $10 a panel and requiring NO SEWING this was a great alternative to either making my own or purchasing curtains for at least $20 a panel.

This has been a hot Chicago summer. I'm sad to say that I've lost part of my "southernness." I've lost the ability to handle 95+ degree days. A few years ago I always thought that I'd move back to the south, but I just don't know. It's too hot. I think I'd rather deal with the 2 degree days in the winter here than a summer full of 95 degree days. But, ask me how I feel about that in February.

With this crazy hot summer thankfully our apartment stays fairly cool, especially if we close the shades at night to prevent the morning sun from penetrating in. By 11 A.M. the sun is above our apartment so we don't get direct sunlight, but still lots of natural light. Closing those shades makes a huge difference.

I never got around to hanging a curtain for the one big window in our family room that lets in tons of light and, therefore, heat. So it was off to Home Depot to purchase a 6x9 foot drop cloth. I threw it in the wash with a little detergent and fabric softner, stuck it in the dryer, ironed out the wrinkles, then hung it. It's that easy!


Last week when it was 100 degrees out (which I did NOT like), I pulled that baby shut and it kept the front room nice and cool.


Check back in later this week when I share with you our new and improved back patio. We've spruced it up quite a bit from last year and drop cloth curtains are included in that makeover.

What crafts and creative things have you used a drop cloth for?

Here's where I'm sharing my things this week.

Tuesday, June 26, 2012

Tried It, Liked It Tuesday: DIY Wood Painted American Flag

Here's a little DIY craft just in time for the 4th of July. You still have time to make this!


DIY Painted American Flag
adapted from Crafty Butt

Supplies:
  • 1 rectangular piece of wood (mine was about 8x11)
  • 50 star stickers
  • red, white, blue spray paint (I used acrylic paint for part, but recommend spray paint)
  • painters tape or masking tape
  • sand paper
  • tape measurer
  • pencil
  • primer spray paint (optional)
  • paint brush (if using acrylic paint)

The How-To:

Sand the wood to help the paint stick better. If you're using primer, then spray a coat onto the wood and let it dry. Spray 1-2 coats of white paint on the piece of wood.

After the paint has dried, figure out about how wide each stripe will be. For me, each stripe ended up being about 0.6 to 0.7 of an inch (8"divided by 13 stripes). I made little pencil marks along the side. I then taped off a square for the star section of the flag. One thing to be aware of is that there are 7 shorter stripes that line up with the square with the stars and 6 longer stripes below the square. Make sure you take this into account when figuring out the size of your box for the stars. Make sense? Just look at the flag and you'll see what I'm talking about.

Start placing the star stickers into the box. I did my best to line everything up, but I didn't care too much about perfection. I did 5 rows of 6 stars first. Then, I did 4 rows of 5 stars inbetween. The pictures below show you what I did.


Next, I used the blue paint and painted right over those stars. I really do think that spray paint would be better/easier here, in which case you'd want to make sure that you cover the section where you'll be painting the stripes. Make sure you let the paint dry completely. I didn't wait long enough and when I taped the stripes down, it tore up some of the blue paint. I had to go back and fix this and it was annoying.


All right, you're almost there! Now, tape off the stripes that you want to keep white. Don't forget to protect the blue square and stars, too. This took some fenagaling of the tape because my stripes and the tape size didn't match up, but again I wasn't going for perfection. I then used my paint brush to spread on the red paint.

You can either leave your flag as is, or make your flag a little more rustic. You can choose one or all of these options. First, you can take a tea bag that has been soaking in hot water and rub it all over the flag to give a faded yellow color. Pat it dry. You can also take a hammer and hit all over the wood to add some dents and knicks. Finally, you can sand the flag to give it a more distressed look. Just make sure the paint is completely dried before doing any of these options!


Happy 4th of July!!!

Thursday, March 29, 2012

Yarn Wreath Tutorial

Today I will be showing you how to make a yarn wreath with felt flowers. This is a super easy project, that I recommend doing with some girlfriends, putting on a chick-flick, pouring some vino, and making a fun night of it. I myself enjoyed sitting outside in the 70 degree sunshine. A rare treat for March in Chicago.


Here's what you'll need:

1 wreath (mine has an 8" diameter)*
1 ball of yarn (You'll use about half)
1/4 yd felt in the color(s) of your choice (1/4 yard should get you about 8-12 flowers)
hot glue gun/sticks

*I originally made the wreath using an idea I had seen on Pinterest where you buy gray pipe insulation from Home Depot and duct tape it to make a DIY wreath. It didn't work. At least not for me. The wreath began to droop and I was slightly annoyed. Just buy a wreath from a craft store. It's only about $3-$5 more at Joann's or Michael's.
The How-To:
Start by tying a knot around the wreath. This will be your starting point. Add a dab of hot glue to hold it in place.

It's best to wrap the yarn in sections using about 4-5 feet of yarn at a time. Any longer and it may get tangled and keeping it attached to the ball of yarn wasn't working well for me. How you wrap is completely up to you and your style, but I wrapped and overlapped. There was really no rhyme or reason.


After you finish wrapping your yarn, keep it in place with a dot of hot glue then continue on with the next section. Continue on with this until the entire wreath is finished. This took me about 45 minutes to an hour. Again, it'd be super fun to hang out with girlfriends and chit-chat while doing this to make the time pass.


Now it's time to make some cute felt flowers. You can use a DVD or CD to trace a cirle on the felt. I just cut a circle the best I could without a stencil.


Start cutting the felt into a spiral. When you are almost to the center, leave a cirle about 1-2 inches wide. You'll eventually glue this onto the bottom of the wrapped flower to hold it in place.

Starting where you first cut, begin twisting the fabric around itself tightly. You could add a dab of glue here and there, but if you are twisting it tight enough and supporting it with your fingers well you shouldn't need to. Why risk burning yourself with the hot glue gun anymore than you need to???


As you're spiraling your flower, give the fabric an occasional twist to add depth and texture. This is what I did.


Or, you could just keep winding it up without any twists and this is what it would look like. It's just a personal preference.


When you get to the end of your fabric with the circle, add some hot glue to the circle and press it against the bottom of the flower to hold is all in place.


Do this for however many flowers you like. Usually an odd number of flowers look best together. Figure out an arrangement for the flowers on your wreath then hot glue them on. Finally, add a pretty ribbon and hang it on your door!


I'm a neutral color girl but I do love pops of color. I chose more neutral colors for my wreath and decided that the color of the ribbons could be switched for the different holidays and seaons of the year. I think this wreath would look gorgeous with a burnt orange ribbon for the fall. I made this one for my mother-in-law whose birthday was the day after mine. I may just have to make another one for myself!

I would LOVE to see your yarn wreath if you end up doing this project.

Click here to see where I like to share my crafts and recipes each week.